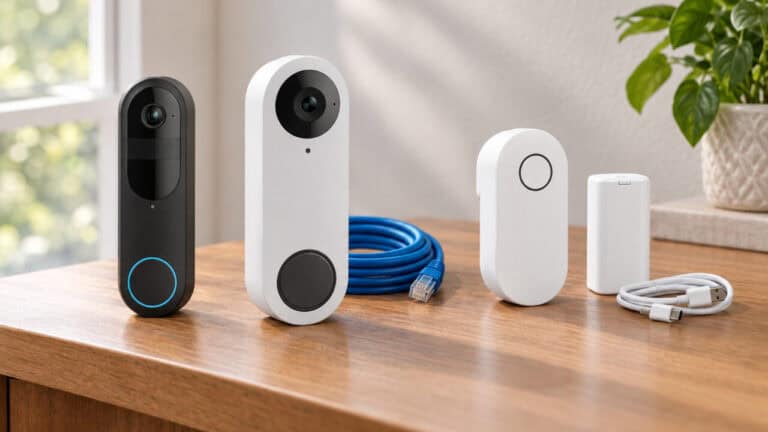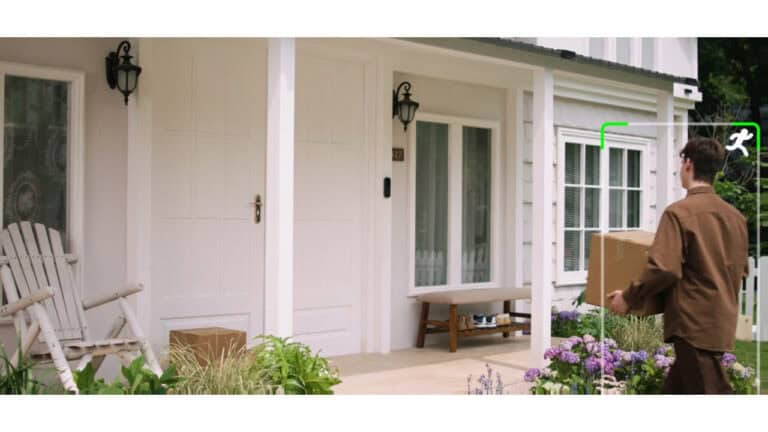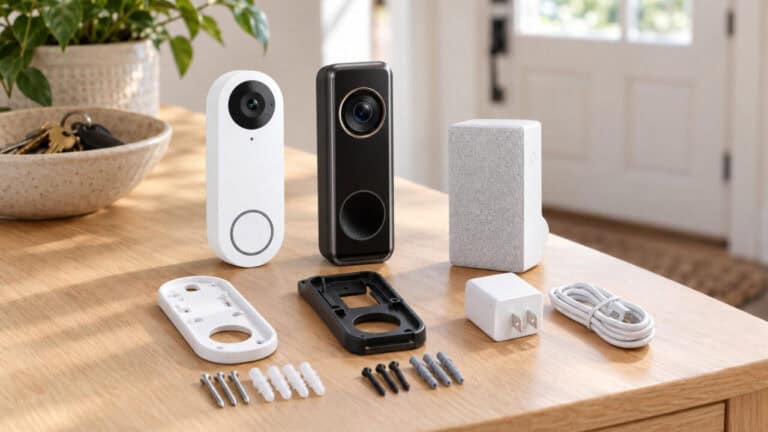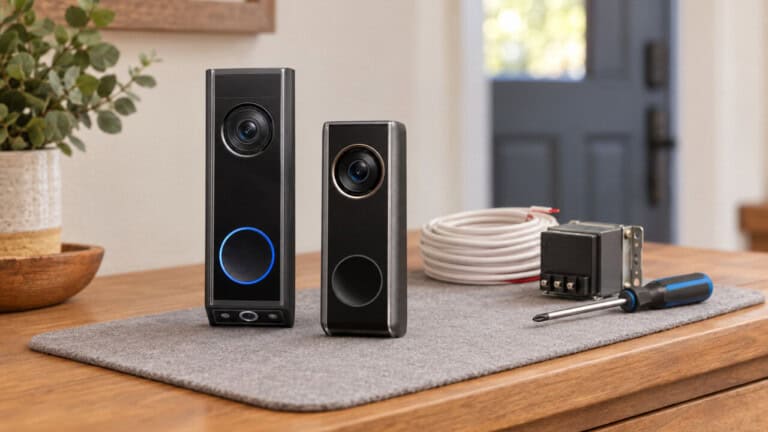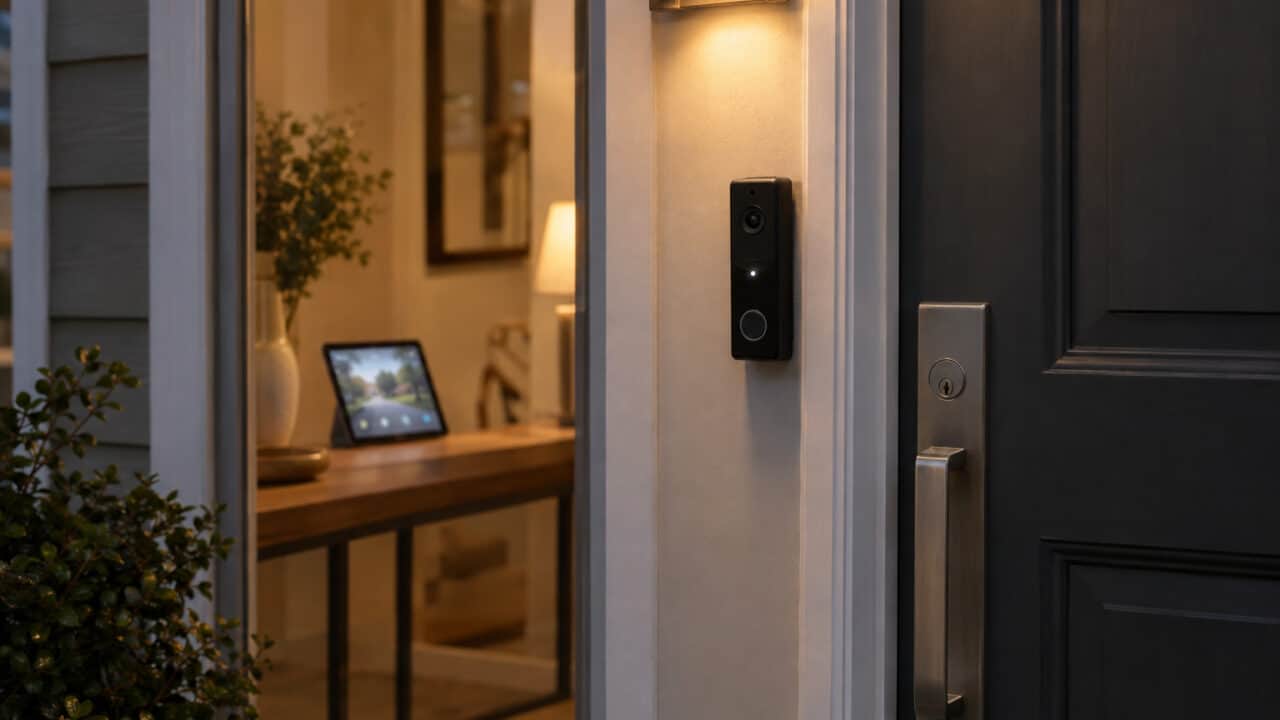
You can add a Reolink doorbell to Home Assistant with the official Reolink integration, and three of the four models don’t need a Reolink Home Hub to do it. Only the first-generation battery doorbell has to go through a Home Hub or NVR. Once it’s added, you get a button-press sensor, camera streams, motion and AI detection sensors, quick replies and chime controls.
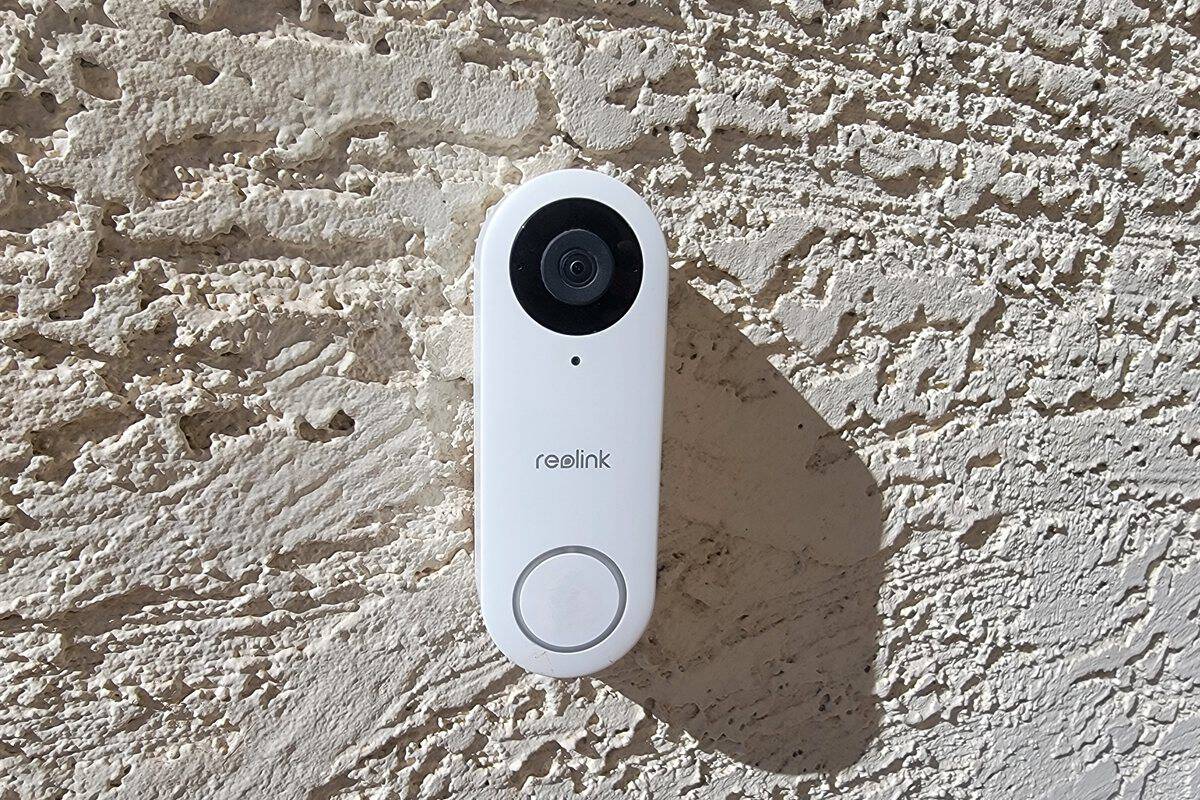
Which Reolink Doorbells Work With Home Assistant
Home Assistant’s Reolink integration page lists each model it has tested and how it connects. Here is where the four doorbells stand.
| Doorbell | How it connects | What to know |
|---|---|---|
| Video Doorbell PoE (black or white) | Direct | On Home Assistant’s list of tested, directly connected models. |
| Video Doorbell WiFi | Direct, according to Reolink | Listed as Works with Home Assistant certified, without the “Requires a vendor hub” note the first-generation battery doorbell carries. It isn’t named on the tested direct-connection list. Reolink’s doorbell comparison lists it as “direct integration” with Home Assistant. |
| Battery Video Doorbell (2nd Gen) | Direct, or through a Home Hub or NVR according to Reolink | Tested with a direct link to Home Assistant. Reolink ties direct support to firmware v3.0.0.7261_26092204. |
| Video Doorbell (Battery), first generation | Home Hub or NVR only | Home Assistant lists it as requiring a Reolink Home Hub, and Reolink says the same. |
If you’re still choosing a doorbell, our Reolink vs eufy video doorbell comparison puts the two brands’ doorbells side by side.
Reolink Video Doorbell PoE
#B0B7S1HMPC
$119.99 as of Nov 4

Before You Start
- A working Home Assistant install. If you don’t have one yet, start with our guide on how to get started with Home Assistant.
- The doorbell set up as a local device. Newer Reolink devices can be set up as an “Account device” bound to a Reolink cloud account, and Home Assistant can’t connect to those. The documentation’s fix is to restore the device in the Reolink app (Device Settings > Advanced > Restore), delete it, then add it again and create a password.
- An admin user on the doorbell itself. This is a user on the device, not your Reolink cloud account.
- A password Home Assistant accepts. The documentation says the password can only contain letters, numbers and these characters:
@$*~_-+=!?.,:;'()[] - The Home Assistant Companion app on your phone, for notifications.
- A microSD card in the doorbell. We recommend putting one in before you mount the doorbell, if it isn’t installed already. Without a card, or a Reolink NVR or Hub, there are no recordings for Home Assistant to show.
How to Add a Reolink Doorbell to Home Assistant
Step 1: Update the Firmware
Home Assistant’s documentation says to update the device to the latest firmware before you set up the integration. It adds that the update check in Reolink’s apps often doesn’t show the newest version, so check Reolink’s online download center. For the Battery Video Doorbell (2nd Gen), Reolink’s Home Assistant support article names firmware v3.0.0.7261_26092204 as the version that supports a standalone connection.
Step 2: Check the Port Settings
This step applies to the PoE and WiFi doorbells, and the two companies describe it differently. Home Assistant’s troubleshooting section says that if you can’t open the doorbell’s IP address in a browser, make sure at least one of the HTTP or HTTPS ports is enabled. Reolink’s support article says to make sure the RTSP and ONVIF ports are enabled. Turning on all four covers both.
Reolink’s port settings guide says some models ship with the RTMP, HTTP, RTSP and ONVIF ports disabled, and gives the app path as More Features > Advanced Network Settings > Server Settings. Menu names vary by app version, and Home Assistant’s documentation describes the same screen as Network Information > Advanced. For more on running Reolink hardware without the cloud, see our guide to setting up Reolink cameras for local-only control.
Skip this step for a directly connected Battery Video Doorbell (2nd Gen). Home Assistant says these steps “do not apply to directly connected battery cameras because these cameras do not have an HTTP(S) web server,” and Reolink says that in battery mode “RTSP/ONVIF does not need to be enabled.”
Step 3: Give the Doorbell a Fixed IP Address
Assign the doorbell a fixed address in your router’s DHCP settings so Home Assistant can always find it. The documentation is specific about where to do this: “Do not set a static IP in the Reolink device itself.”
Step 4: Add the Reolink Integration
- In Home Assistant, go to Settings > Devices & services.
- Home Assistant normally finds a Reolink device on its own. If your doorbell is already listed, select it. If not, select Add Integration, choose Reolink and enter the doorbell’s IP address as the host. A battery doorbell has to be online during setup.
- Enter the username and password of the admin user on the doorbell.
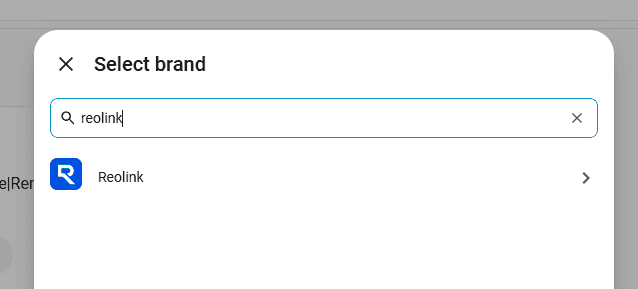
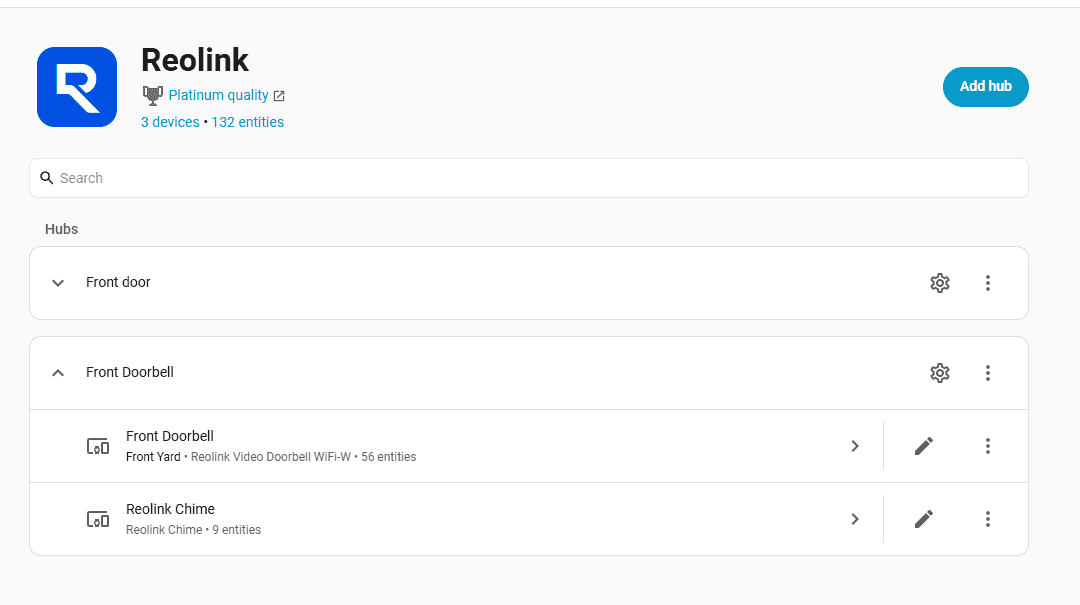
Once it’s added, the Reolink entry under Settings > Devices & services lists the doorbell and, if you have one, the chime as separate devices.
What You Get in Home Assistant
The exact entities depend on what your doorbell model supports. The integration documents these:
- Visitor sensor. A binary sensor that turns on when someone presses the doorbell button.
- Motion and AI detection sensors for events such as person, vehicle, package and animal detection, depending on the model.
- Camera entities. Only the low-resolution Fluent stream is enabled by default. Enable the Clear stream entity for the high-resolution view.
- Quick replies. Select entities play a quick reply message or set an automatic one. Record the messages in the Reolink phone app, then restart the Reolink integration to load them.
- Chime controls, including chime volume, silent time, the ringtone for each event type and the chime LED.
- Doorbell settings such as the doorbell LED, volume, button sound and a hardwired chime switch, which is disabled by default.
- Recordings. If the doorbell records to a microSD card or an NVR or Hub, Media > Reolink shows recordings up to one month old.
Presses and detection events reach Home Assistant by the fastest method that works, from TCP push, which the documentation says most non-battery devices use, down to polling every 5 seconds.
Ringing the Reolink Chime From an Automation
The integration has a Play chime action for Reolink’s plug-in chime. This is the example from Home Assistant’s Play chime documentation:
action: reolink.play_chime
data:
  device_id:
    - 12a34b56c7d8ef9ghijklm0n1op2345q
  ringtone: operetta
Replace the device ID with your chime’s, or build the action in the automation editor and pick the chime under Target chime. The documented ringtones are citybird, originaltune, pianokey, loop, attraction, hophop, goodday, operetta, moonlight and waybackhome.
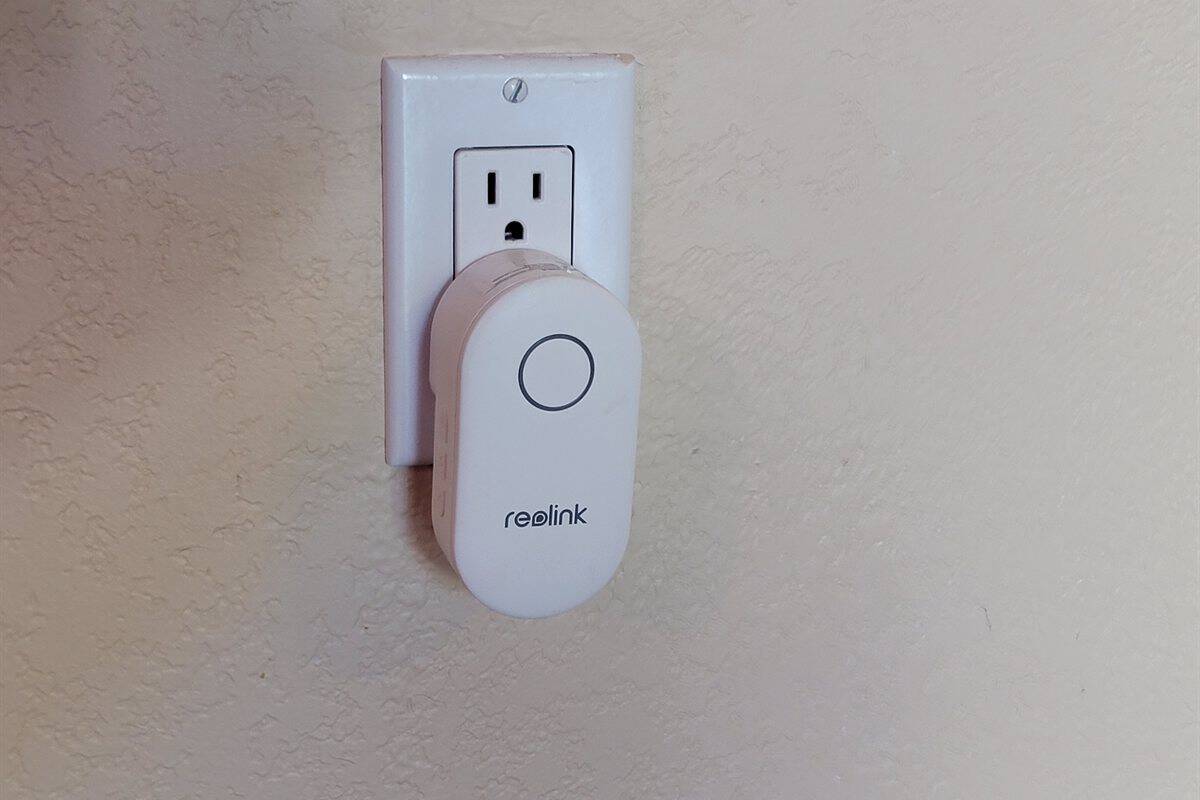
Which chime you have matters. The PoE and WiFi doorbells include a Reolink Chime. The Battery Video Doorbell (2nd Gen) does not, and Reolink’s FAQ for that doorbell says it works with the Chime Plus but not the Chime V1 or V2. Home Assistant’s tested list names only the “Reolink Chime.”
The FAQ on Reolink’s Video Doorbell PoE product page says the chime’s settings “can only be done locally; you can NOT control the Chime via App or Client,” while Home Assistant documents chime entities and this action, so check which chime entities appear for your doorbell. On our Video Doorbell WiFi, the plug-in chime shows up as its own device with 9 entities. Deleting a chime device in Home Assistant also unpairs it from the doorbell.
How to Get a Phone Notification When a Package Is Detected
A doorbell with package detection gets a package sensor in Home Assistant, named binary_sensor.camera name_package. This is based on the automation we run on the Reolink Video Doorbell WiFi at our front door, which we covered in our Reolink Video Doorbell WiFi review. When the sensor detects a package, Home Assistant saves a snapshot from the doorbell and sends it to your phone.

To build it in the automation editor:
- Go to Settings > Automations & scenes and select Create automation > Create new automation.
- Under When, select Add trigger, search for State and pick the State changed trigger. Choose the doorbell’s package sensor and set it to change from Clear to Detected.
- Under Then do, select Add action, search for snapshot and pick Take camera snapshot. Choose the doorbell’s camera entity and set the filename to
/config/www/front_doorbell.jpg. - Add a second action: Notifications > Send a notification via mobile_app for your phone. Pick that one, not Send a notification message, which can’t attach an image. Type a message, add a title if you want one, then select the data option and enter
image: /local/front_doorbell.jpg. Note that the path now starts with/local/, which is how Home Assistant addresses itswwwfolder. - Select Save and give the automation a name. To test it without waiting for a delivery, open the automation’s menu and select Run actions, which skips the trigger and any conditions.
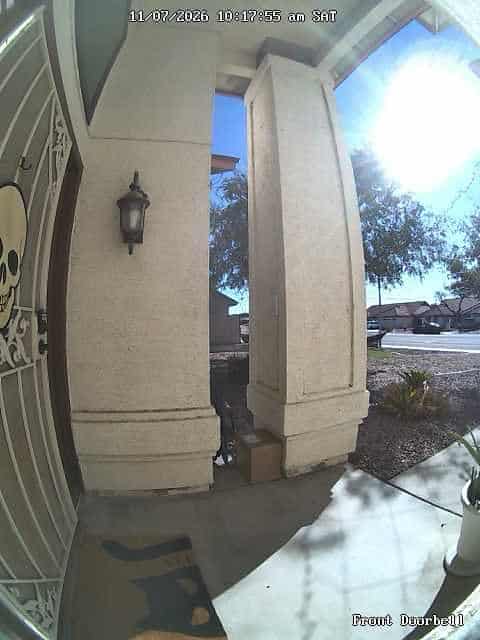
Here is the same automation in YAML. To use it, create a new automation, open the menu, select Edit in YAML and replace what’s there with it. Then change the package sensor, the camera entity and the notify.mobile_app_your_phone action to match yours.
alias: Package Arrived
description: Phone notification with a doorbell snapshot when the Reolink doorbell detects a package.
triggers:
  - trigger: state
    entity_id:
      - binary_sensor.front_doorbell_package
    from:
      - "off"
    to:
      - "on"
conditions: []
actions:
  - action: camera.snapshot
    target:
      entity_id: camera.front_doorbell_fluent
    data:
      filename: /config/www/front_doorbell.jpg
  - action: notify.mobile_app_your_phone
    data:
      title: Front door
      message: A package has arrived!
      data:
        image: /local/front_doorbell.jpg
mode: single
The file is on GitHub with setup notes and a few variations, including a condition that skips repeat alerts: Reolink doorbell package alert.
Three things to know before you rely on it. If your Home Assistant config folder has no www folder yet, create it and restart Home Assistant once. Until that restart the /local/ address doesn’t work and the notification arrives without the photo. Home Assistant also makes the www folder available without a login, so anyone who has the address can open the latest snapshot. The GitHub notes show how to save it to the media folder instead, which stays behind your Home Assistant login. And the image only shows when your phone can reach Home Assistant, so you need remote access to see it away from home.
To get the same alert when someone rings, use the visitor sensor, binary_sensor.camera name_visitor, as the trigger instead. In the editor its states read Off and On instead of Clear and Detected.
What Changes With a Battery Doorbell
Direct connections for battery-powered Reolink models arrived in Home Assistant 2026.6, which we covered when Reolink’s battery doorbell went direct with Home Assistant. The release notes add that “not all models and features are supported yet,” that using a Home Hub or NVR “remains the preferred method,” and that a battery camera can’t be connected both ways at the same time.
If you connect the Battery Video Doorbell (2nd Gen) directly, plan for these differences:
- Motion and AI events arrive by webhook only, and the documentation puts the visitor sensor in the same push group. That needs firmware with webhook support, a local address set under Home Assistant URL in Home Assistant’s network settings, and a network that lets the doorbell reach that address. If the firmware lacks webhooks, the Home Assistant log shows “does not support webhooks, no motion/AI push updates.”
- UDP has to be open. The documentation says all UDP ports between Home Assistant and a directly connected battery device need to be unrestricted.
- Watching the stream uses battery. Viewing the stream in Home Assistant keeps the doorbell awake. Turn off the Preload camera stream option on its camera entities.
- RTSP and ONVIF need wired power. Reolink’s FAQ for the 2nd Gen doorbell lists RTSP and ONVIF as not supported in Battery Mode, and supported in Wired Power Mode with app version 4.62 or above.
Talking to Visitors From Home Assistant
Home Assistant 2026.11 added two-way audio for Reolink as a Labs preview feature. If your model supports two-way audio, you can talk through it from the live view of the camera entity. The documentation lists three requirements:
- The Two-way audio preview feature is enabled in Settings > System > Labs.
- The integration’s Protocol option is set to RTSP.
- You open Home Assistant over HTTPS. The release notes say support in the Home Assistant apps over HTTP is still being worked on.
Because the feature needs RTSP, and Reolink lists RTSP as not supported on the Battery Video Doorbell (2nd Gen) in Battery Mode, expect it to apply to the PoE and WiFi doorbells and to a 2nd Gen doorbell only in Wired Power Mode. Home Assistant’s documentation doesn’t address battery doorbells here.
Troubleshooting
- Home Assistant can’t set up the doorbell. Go back through the checklist above: local device, admin user, allowed password characters, and the HTTP or HTTPS port enabled.
- Entities drop out now and then. Confirm the fixed address is set in the router, not on the doorbell. The documentation also warns that running third-party software such as Frigate, Blue Iris or Scrypted, or the ONVIF integration, at the same time can cause dropped connections.
- The doorbell is on a separate VLAN. The firewall has to pass HTTP (port 80), HTTPS (port 443), RTMP (port 1935), RTSP (port 554), ONVIF (port 8000) and TCP (port 9000).
Frequently Asked Questions
Do I need a Reolink Home Hub to use a Reolink doorbell with Home Assistant?
Not for three of the four models. Only the first-generation battery doorbell has to go through a Home Hub or NVR.
Can Home Assistant notify me when someone presses the doorbell?
Yes. A press turns on the visitor sensor, which can trigger the same notification automation shown above for packages.
Can I talk to visitors through Home Assistant?
Yes, as a Labs preview feature added in Home Assistant 2026.11. It needs RTSP, so don’t count on it for a battery doorbell running in Battery Mode.
Can Home Assistant play text-to-speech through a Reolink doorbell?
No. Home Assistant’s documentation says text-to-speech is not available in the Reolink integration. You can play quick reply messages that you recorded in the Reolink app.
The Short Version
Set the doorbell up as a local device with its own admin user, update the firmware, give it a fixed address in your router, and add the Reolink integration from Devices & services. From there, the visitor sensor is the starting point for your automations.