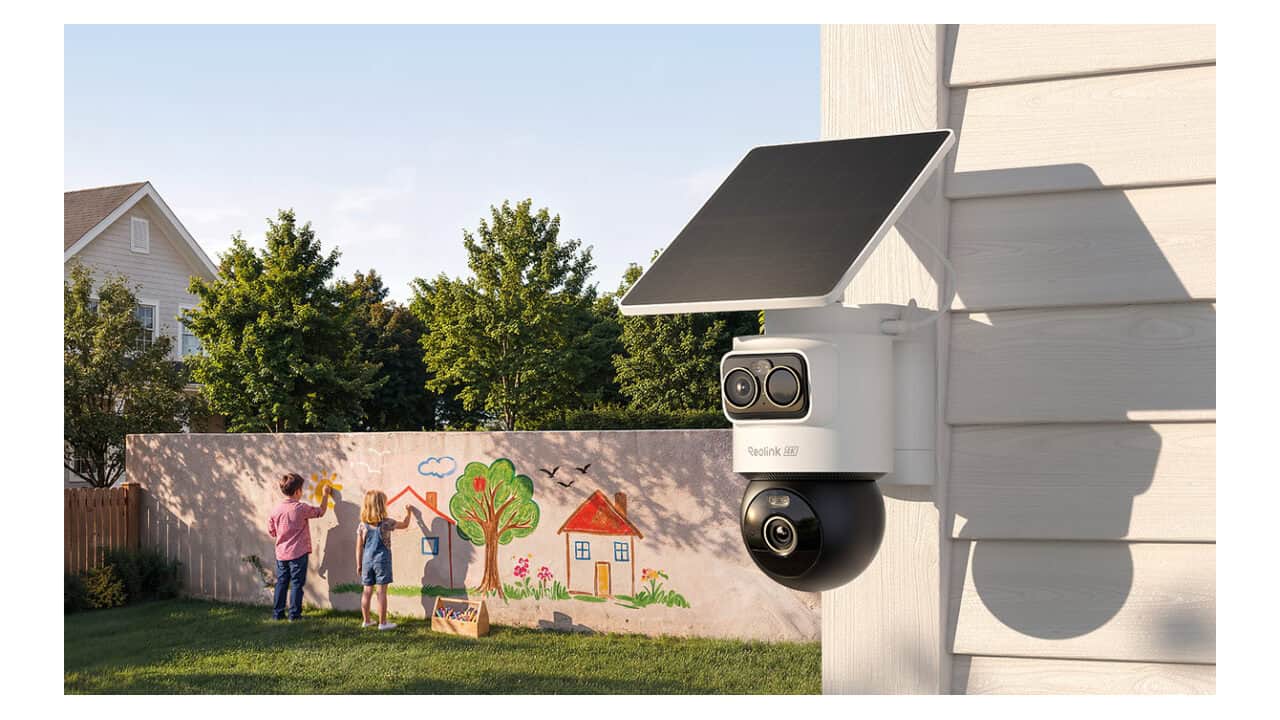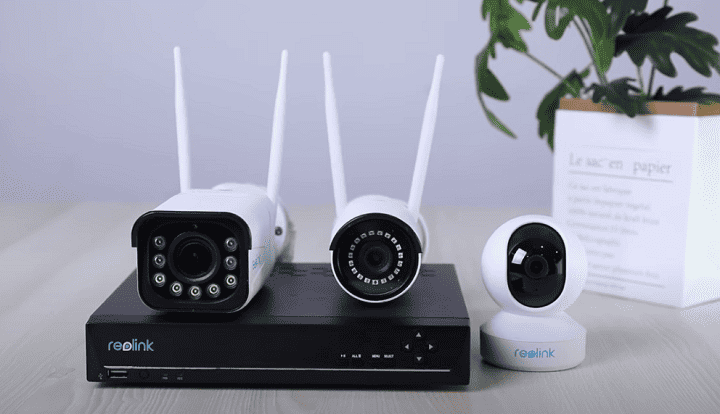
Reolink cameras can run 100% locally, with no cloud account and no monthly fees required. There are three main ways to do it: connect them to a Reolink NVR, use the Reolink Home Hub, or hand them off to Home Assistant’s local integration. Reolink is one of the few mainstream camera brands that supports this out of the box – most smart security cameras simply don’t. For more cameras that support local only, check out our post about local only smart cameras.
Running your smart cameras in local only mode can be a bit more technically challenging and require a bit more maintenance. You’ll have the benefits of increased privacy, significantly less risk of a security breach, and no reliance on cloud services to be up. With the reports of cloud service employees watching videos, the news of images leaking to folks they shouldn’t be, and internet outages in general – not to mention cloud services shuttering and disappearing, going local for security cameras is really the best way to go.
This usually involves having smart cameras that are not battery powered, and can support the RTSP protocol for feeding their data to a NVR ( basically, a video recorder for security cameras ). The NVR then stores any video feeds you need, and can be configured to alert when you need it to.
This video is a quick demo of how to setup the Reolink brand cameras with an Reolink NVR. It shows how quick and easy this setup process is, making it achievable for someone of any technical skill level.
How to Force Reolink Cameras into Local-Only Mode (Step by Step)
If your Reolink camera is already on your network, cutting cloud/remote access takes just a few minutes. The steps differ depending on whether the camera is wired/PoE (or already feeding an NVR) or running on battery. If you’re locking down your whole smart home while you’re at it, our smart home privacy settings rundown is a good next stop.
Wired, PoE, and NVR-connected cameras
- Open the Reolink Client desktop app – this toggle isn’t available in the mobile app.
- Select the camera or NVR, then go to Device Settings > Network > Advanced.
- Turn off UID (the P2P/remote-access ID). This kills cloud and remote-app access while leaving local recording, RTSP, and browser access untouched.
Battery-powered cameras
Battery Wi-Fi cameras don’t have a UID toggle, so you can’t disable P2P on the camera itself. Instead, block it at the router: find the camera’s IP and MAC address in your router’s client list, then add a rule that blocks that device from reaching the internet while still allowing local network traffic. Binding the IP to the MAC address stops the block from breaking if the camera’s address changes later. If your router lets you assign a static or reserved IP first, do that – it makes the block easier to maintain long-term.
Reolink + Home Assistant: Official Local Integration
In April 2025, Reolink became one of the first brands with cameras and doorbells certified under the Works with Home Assistant program, at the highest “Platinum” tier. Ten Reolink devices – spanning battery, wired, PoE, and Wi-Fi models, plus video doorbells and a floodlight camera – were certified to run fully locally, with no cloud connection required for any advertised feature.
To set it up:
- On the camera, enable RTSP and ONVIF under Settings > Network > Advanced.
- Give the camera a static IP or a DHCP reservation on your router so Home Assistant doesn’t lose track of it after a lease renewal.
- In Home Assistant, go to Settings > Devices & Services > Add Integration, search for Reolink, and enter the camera’s IP address, username, and password.
Home Assistant’s integration auto-discovers streams, and Reolink publishes a full integration walkthrough if you get stuck. If you ever need to pull a feed manually – for something like Frigate – the RTSP URL pattern is rtsp://user:pass@CAMERA_IP:554/h264Preview_01_main for the main stream (swap in _sub for the lower-resolution substream). New to the platform itself? Start with our guide on getting started with Home Assistant.
NVR vs. Home Hub vs. Frigate: Which Local Setup Fits You
All three options keep footage local, but they trade off cost, technical effort, and flexibility differently.
| Setup | Best for | Storage | Camera support |
|---|---|---|---|
| Reolink NVR | Set-it-and-forget-it 24/7 recording | Built-in HDD bay, plug-and-play | PoE cameras (power and data over one cable) |
| Reolink Home Hub | Mixing in Wi-Fi and battery cameras without a subscription | MicroSD, expandable across two card slots | Up to 8 cameras, including Wi-Fi and firmware-updated battery models |
| Reolink Home Hub Pro | Larger multi-camera setups that still want no-subscription local storage | Built-in HDD, expandable with a larger external drive | Up to 24 cameras, including wired, Wi-Fi, and most battery models |
| Self-hosted Frigate / NAS | DIY local AI detection (person/vehicle/package) and full control | Whatever storage you attach yourself | Any RTSP-capable Reolink camera – 6MP+ models are typically routed through go2rtc restream for stable streaming |
If you just want cameras that record locally and stay out of the way, the NVR or Home Hub covers it. If you want local, AI-powered detection and don’t mind running your own server, Frigate is the deeper – and free – option.
Accessing Cameras by Local IP in a Browser (No App Needed)
You don’t need the Reolink app to view or configure a camera on your own network:
- Find the camera’s local IP address – either in your router’s connected-devices list, or on the camera itself under Network Status in the Reolink app or Client (for NVR-connected cameras, use the NVR’s IP instead).
- Make sure HTTP/HTTPS access is enabled under Device Settings > Network > Advanced.
- Type the IP address straight into your browser’s address bar (for example,
https://192.168.1.103), and log in with the camera’s local admin username and password.
This works in Chrome, Edge, and Firefox; Safari on iOS can load the settings page but won’t play the live video feed.
Does Reolink Work with SmartThings?
Not officially, as of 2026. Reolink has no first-party SmartThings support. There’s a community-built SmartThings Edge ONVIF driver that can log in to a Reolink camera, but it’s limited – it doesn’t pull motion or doorbell-press events for automations, and the driver is no longer actively maintained. If SmartThings automations are the goal, Home Assistant’s official Reolink integration (above) is the more capable local option.
FAQ
Can Reolink cameras record without internet?
Yes. Cameras with a microSD slot, an NVR, or a Home Hub keep recording through a dead internet connection. You lose remote viewing and push notifications until the connection comes back, but local recording and playback keep working the whole time.
Do Reolink cameras require an account?
Not for local access. Viewing footage over the local web interface, Reolink Client, an NVR, or a Home Hub doesn’t need a Reolink account. An account is only required for cloud/app-based features like remote push notifications and cloud storage.