Home Assistant is an open-source smart home controller. It’s designed to make it easy for you to manage your smart home devices. Getting started with Home Assistant is super easy, and this blog post will help you get started. It will cover the basics of installation, the necessary equipment, and the initial configuration process. Follow along with this post and learn what you need to know to get started with Home Assistant.
Installing Home Assistant
The very first question you need to know the answer to when installing Home Assistant is, how do you want to install it? If you want something super quick and easy, you’ll probably want to check out Home Assistant green that already has Home Assistant pre-installed in it for you. The most common way to install Home Assistant is either on a Raspberry Pi with the Home Assistant OS, or on a micro computer. Personally, I tend to prefer running Home Assistant in Docker containers spread across multiple servers / micro computers. For all of the different install options and full instructions, check out Home Assistant’s instructions here. Follow the instructions, then head back here to get your environment actually doing things.
Setting Up Your Home Assistant Environment
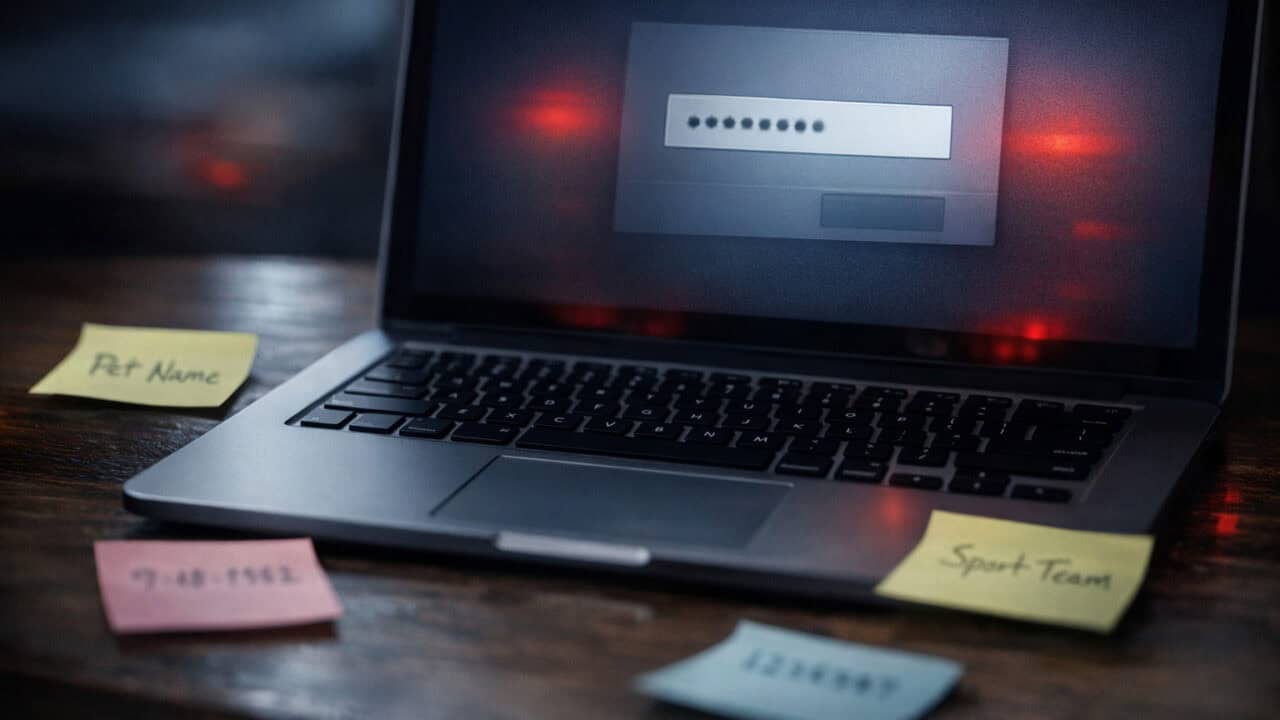
The next thing Home Assistant will need you to do once you’ve installed it is to create a user account. This is pretty painless and lets you log into your Home Assistant instance securely. When that’s done, you’ll be logged into your new Home Assistant controller and staring at your Dashboard. It’ll be pretty blank to start.
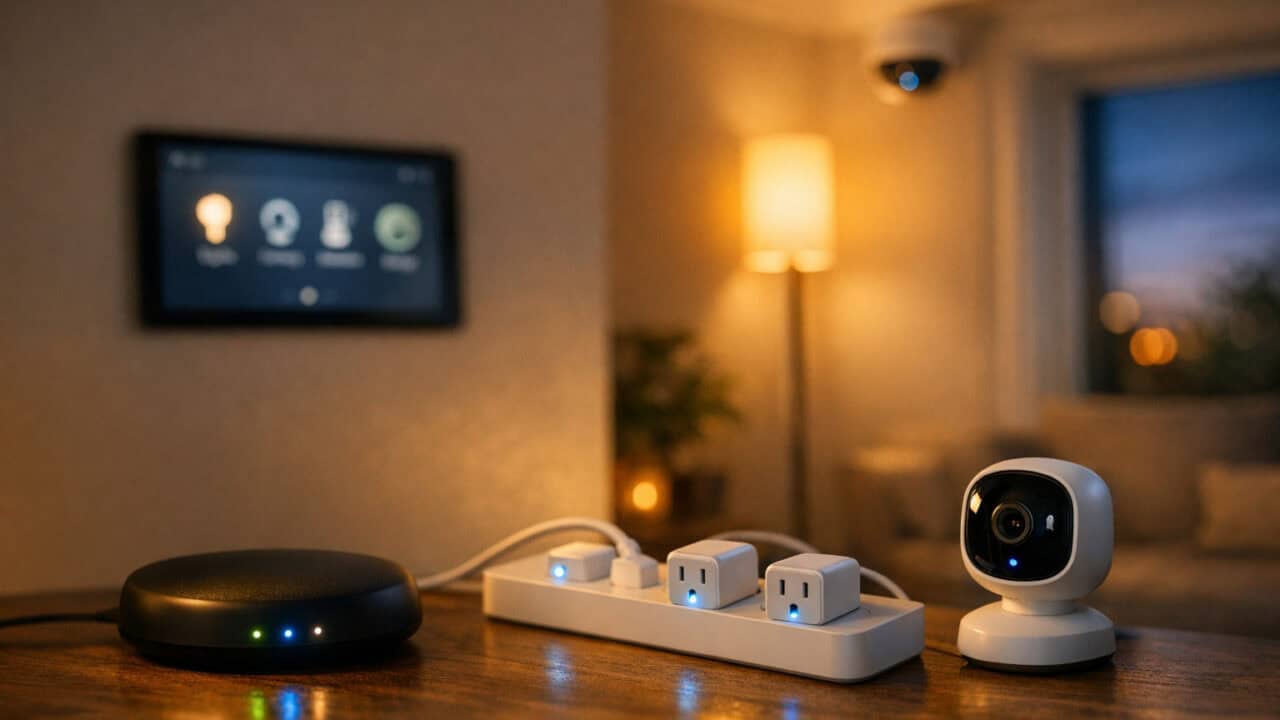
Integrating smart devices with Home Assistant involves adding them to the system so they can be managed and automated. Home Assistant supports a wide range of devices from different brands. To add a new device, navigate to the Settings button.

Then to the Devices and Services page

From there, click the “Add Integration” button and search for the names of manufacturers for your smart home devices.

For instance, if you wanted to add some Phillips Hue devices, you could search for “hue” to find integrations for it.

And now you should start to see devices showing up on your Home Assistant dashboard!
In Summary
Beginning with Home Assistant requires a basic setup that includes choosing compatible hardware, installing the Home Assistant software, and configuring devices. By following these steps, you can start to create a personalized smart home system that can manage various devices and routines. Over time, as you become more familiar with Home Assistant, you can expand its capabilities by adding in custom automations, integrating more devices, and exploring advanced features.