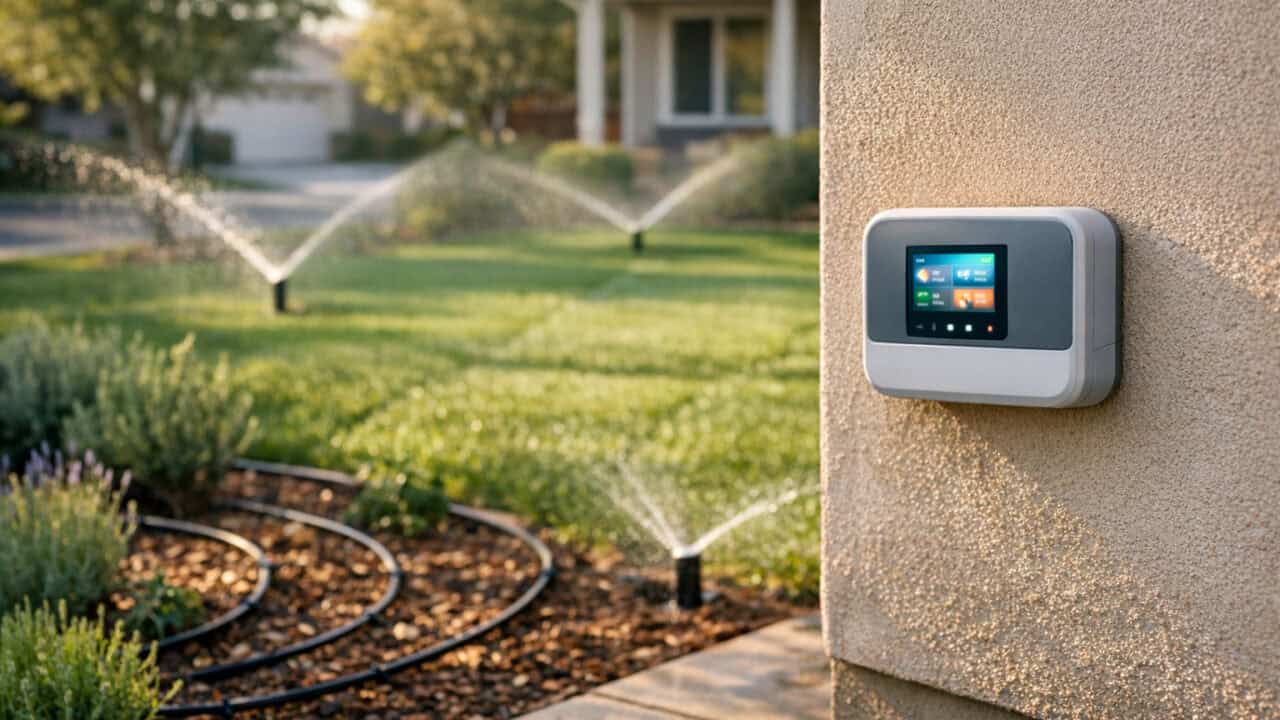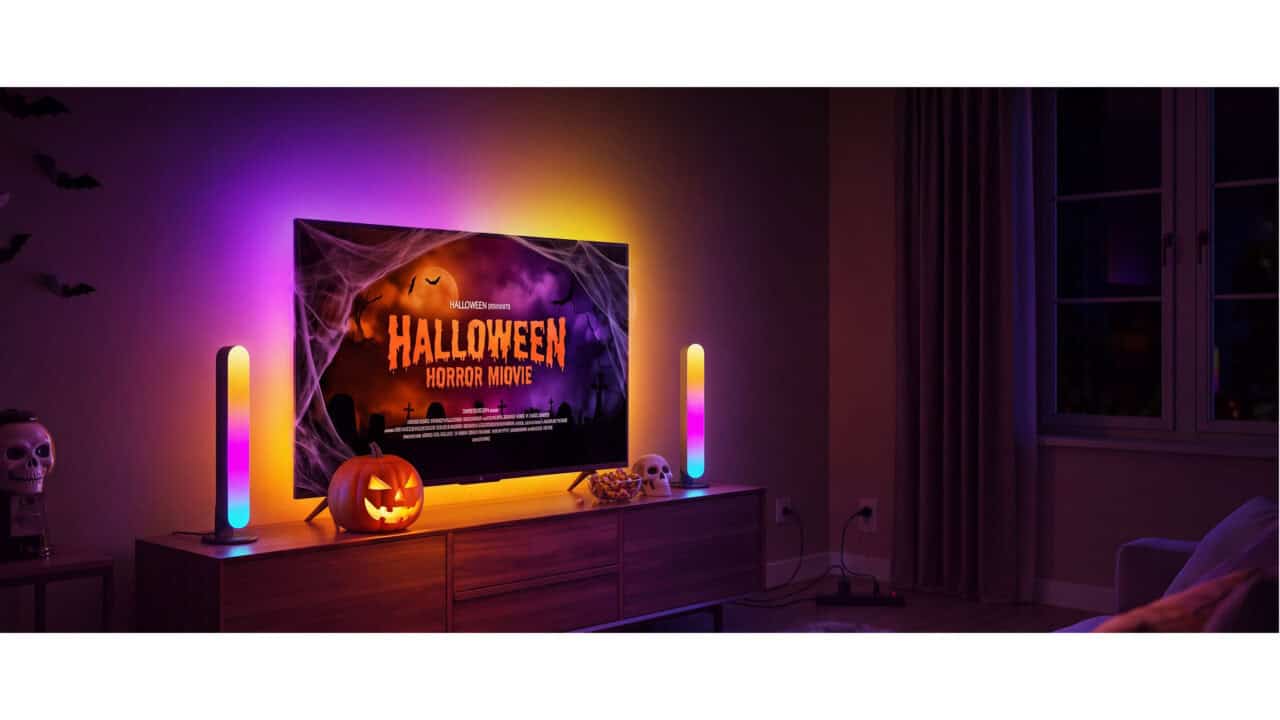
This year for Halloween, I wanted to add spooky sounds out in the yard. A growl from behind the bushes when someone walks up, a creaky door by the porch, a whisper from the far side of the lawn. Bluetooth speakers were too limited, and the commercial smart speakers cost too much to scatter around outside for one night. So I built my own.
Each one is a classic ESP32 dev board and a tiny I2S amplifier running ESPHome, and it shows up in Home Assistant as a normal media player you can stream to. All in, each node comes to about $20.
It works great now. It also fought me for a while, so the hard-won fixes are at the bottom in the Troubleshooting section. If you’re building the same thing, read those before you start swearing at your jumper wires.
Why?
Halloween sound effects are easy to find and easy to play from a phone. The hard part is putting them in three different spots across the yard and firing them from the same automations that already run my lights. I wanted speakers that Home Assistant could treat like any other device: a motion sensor trips, a clip plays from the speaker nearest the walkway, and a second speaker answers from across the lawn a few seconds later. I have two built right now and a third on the way so I can get that call-and-response going.
Outside of October the same speakers can do useful things if you wanted to add waterproofing to them. Text-to-speech announcements in the backyard, a doorbell chime you can hear from the garden, a timer going off while you’re grilling. Anything Home Assistant can say, these can say outside.
What It Does
Each speaker is one ESP32 running ESPHome. The ESP32 pulls audio from Home Assistant over WiFi and pushes it out over an I2S digital bus to the amplifier, which drives a small speaker. In Home Assistant, each one appears as a media_player entity. From there you can push text-to-speech (I used Piper for my testing), play pre-recorded clips, or bake clips into the firmware so they play straight from flash with no network involved. Each amp is mono, so one ESP32 plus one amp equals one audio zone. Build as many zones as you want.
Supplies
Here’s what went into each speaker. The first two items are the whole electronics side. The rest is packaging.
- ESP32 dev board, the classic 30-pin WROOM-32 DevKit V1 style. It’s the same board I used for the Minecraft lantern. No PSRAM, and that shapes a lot of the config. Amazon
- NULLLAB NS4168 I2S amplifier and speaker kit, 2-pack. A Class-D I2S amp that works like a MAX98357A, plus a small 3W speaker and the PH2.0-to-Dupont cable that hooks it to the ESP32. The kit I received actually ended up being a rectangular variant of the speaker instead of the square one. Amazon
- Micro-USB cable and a 5V USB power brick for each speaker. The cable that flashes it is the cable that powers it.
- 3D printed case (optional). Files and print notes are below.
- Home Assistant already running, plus the ESPHome Device Builder to compile and flash the firmware. New to Home Assistant? Start with How to Get Started with Home Assistant.
This took no soldering. The amp kit’s cable has a 5-pin PH2.0 plug on the amp end and female Dupont connectors on the other, so it pushes straight onto the ESP32’s header pins. The speaker plugs into the amp with its own PH2.0 lead.
Wiring
The wiring on this little speaker setup was super simple. There are only five connections. This is a digital amp, so three of them are clock and data lines, not analog audio. The speaker plugs into the amp board, not the ESP32.
[WIRING DIAGRAM: ESP32 DevKit V1 to NS4168 amp, five wires, speaker on the amp’s PH2.0 socket]
| Amp pin | ESP32 pin | Purpose |
|---|---|---|
| VIN (V) | VIN (5V) | Power. Use 5V for full volume. |
| GND (G) | GND | Ground. It has to be shared with the ESP32. |
| BCLK (BCL) | GPIO26 | Bit clock |
| LRC | GPIO25 | Word-select clock |
| DIN | GPIO33 | Audio data |
Polarity doesn’t matter on the speaker side for a single mono driver. The three signal pins are next to each other on the ESP32 header, which keeps the jumpers tidy.
Watch the DIN line especially. A half-seated DIN jumper gave me static that ignored the volume slider completely, and DIN on the wrong pin gave a pop when the I2S bus started and then nothing. If you get garbage later, re-seat this wire first.
The 3D Printed Case
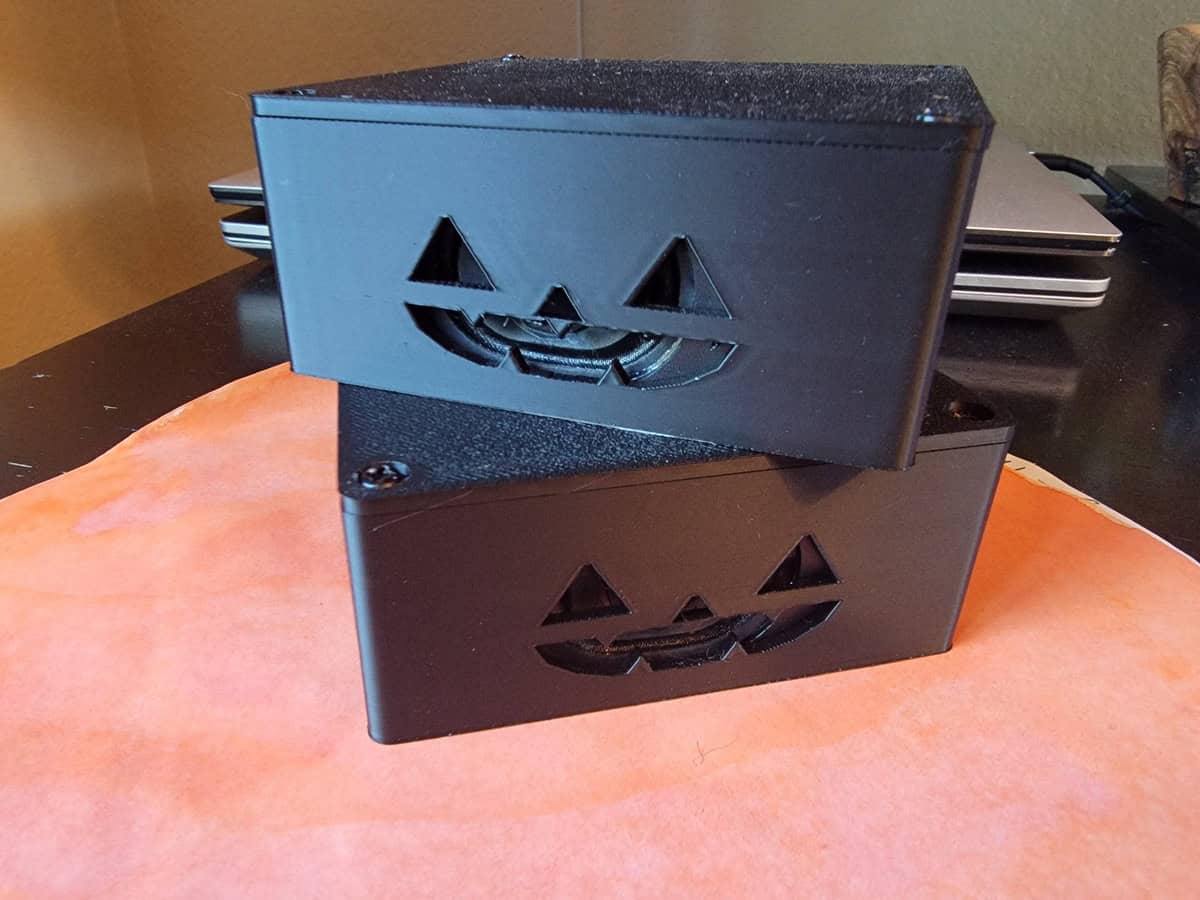
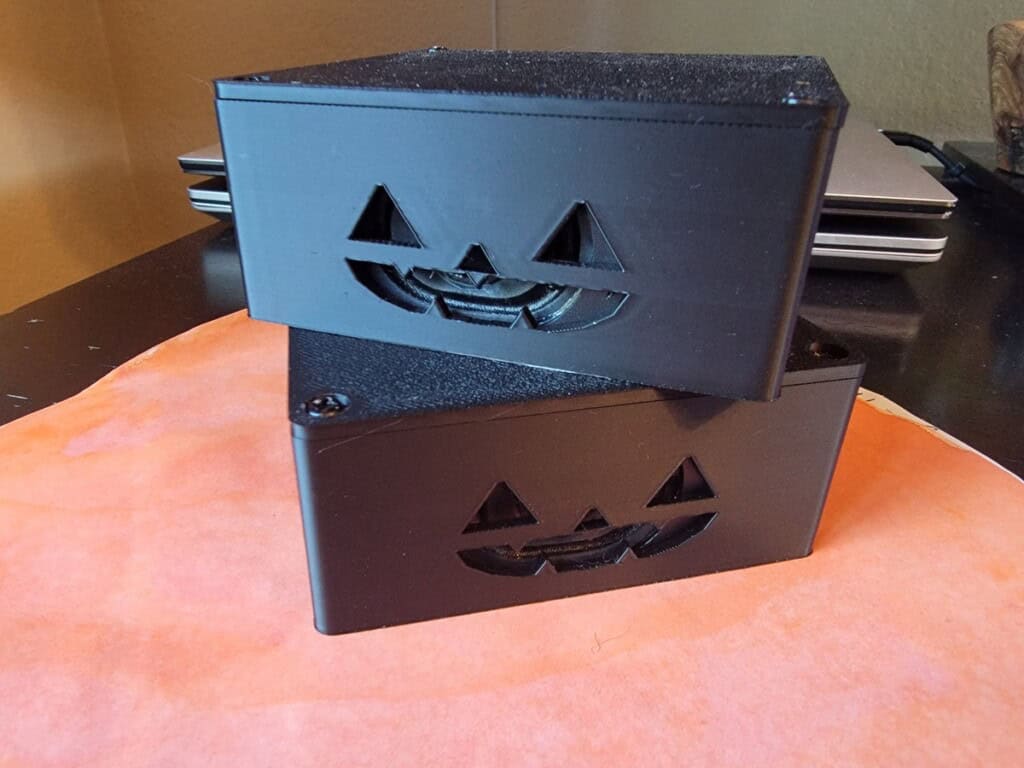
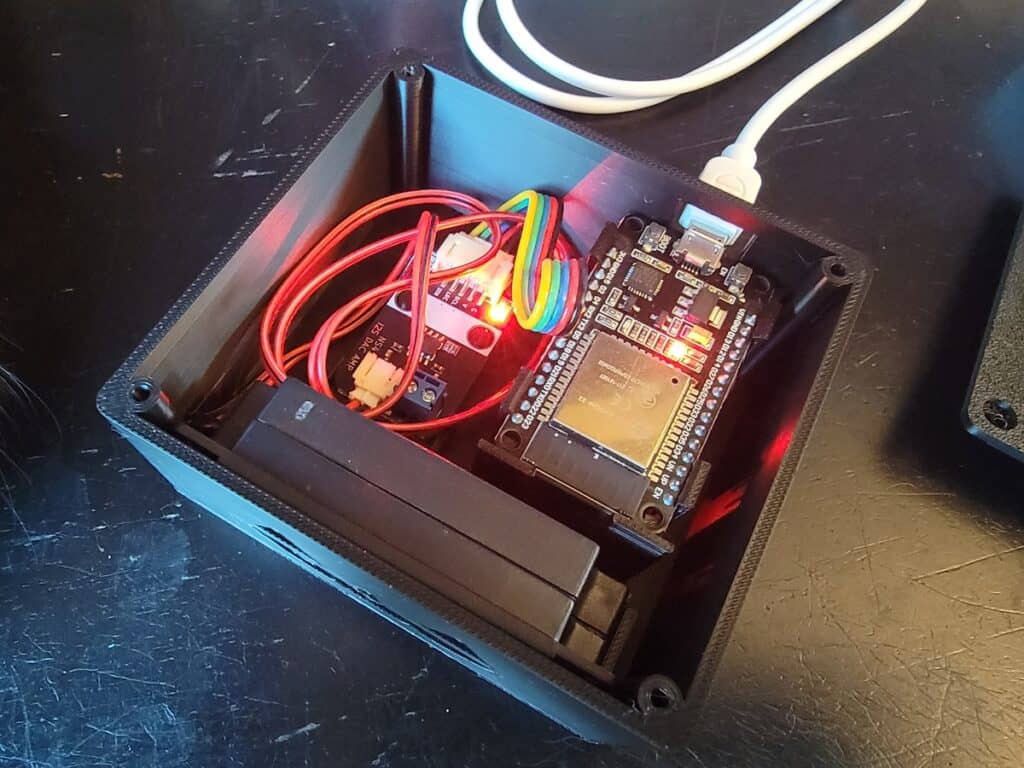
The speaker needed a box, and I’m terrible with CAD. So I asked Claude to help design one for this project. The ESP32 clicks into four snap clips with its jumpers hanging underneath, the amp sits on two pegs through its Lego-style mounting holes, and the enclosed speaker drops into a pocket behind the front wall and fires through the grille. The front comes in two versions: a jack-o’-lantern face for October, or plain slots for the rest of the year. The micro-USB port lines up with a cut-out in the back wall. It’s about 88 by 82 by 38 mm, prints in PLA or PETG without supports, and the lid friction-fits or takes four M3 screws.
One thing to be clear about: this case is not weatherproof. I’m in a dry climate, and I put the speakers out for the evening and bring them back in. If you’re somewhere wet, or you want to leave them out for the whole month, put the whole thing in a sealed outdoor enclosure or keep it under cover.
Setting Up ESPHome
You build the firmware with the ESPHome Device Builder. That’s separate from adding ESPHome under Devices & Services in Home Assistant, which only talks to devices that are already flashed and can’t build anything. It’s also not a HACS install.
On Home Assistant OS or Supervised, install the ESPHome Device Builder add-on from the Add-on Store and you’re done. If you’re running a Docker container with Home Assistant in it like I do, you’ll need to run Device Builder in a container alongside your HASS container.
For reference, I’m on Home Assistant 2026.9 and ESPHome 2026.8.2 as I write this.
The Firmware Config
Create a new device in the ESPHome dashboard and drop in the config below. The comments explain the why behind each audio setting. Those choices are the whole battle, and they’re specific to a classic ESP32 paired with this NS4168 module.
# ============================================================
# Yard Speaker A  —  ESP32 + NS4168 I2S amp, streams from HA
# ------------------------------------------------------------
# After flashing, this appears in Home Assistant as:
#     media_player.yard_speaker_a
# Duplicate for Zone B: change `name` to yard-speaker-b and
# `friendly_name`/`name:` on the media_player to "Yard Speaker B".
# ============================================================

esphome:
  name: yard-speaker-a
  friendly_name: Yard Speaker A

esp32:
  board: esp32dev
  framework:
    type: esp-idf

logger:

api:
  encryption:
    key: !secret home_assistant_api_key # make sure to make and save this secret
ota:
  - platform: esphome
    password: !secret esp_ota_pw # another secret to make and save

wifi:
  ssid: !secret wifi_ssid # more secrets to make and save
  password: !secret wifi_password # last secret to make and save
  power_save_mode: none

# Free-heap visibility: sensor "Heap Free" in HA, and "Free heap" in
# the boot log. Use it before raising any buffer size.
debug:
sensor:
  - platform: debug
    free:
      name: Heap Free

# -------------------- Audio --------------------

# I2S bus. The NS4168 has no MCLK input, so no MCLK pin is configured.
i2s_audio:
  i2s_lrclk_pin: GPIO25     # LRC  (word-select clock)
  i2s_bclk_pin: GPIO26      # BCLK (bit clock)

# The NS4168 amp. It is a mono amp that plays either the L or R I2S
# slot (chosen by its CTRL pin). HA sends identical L/R, so either works.
speaker:
  - platform: i2s_audio
    id: ns4168_speaker
    dac_type: external
    i2s_dout_pin: GPIO33    # DIN on the amp
    channel: stereo         # identical L/R: plays whichever slot the module's CTRL pin selects
    sample_rate: 16000      # in the module's auto-detect table; 64 KB/s stereo over WiFi. 32000/44100 also valid.
    bits_per_sample: 16bit
    i2s_comm_fmt: stand_msb # left-justified, per the vendor's ESP32 example (Philips framing was silent at 16 kHz)
    use_apll: false
    buffer_duration: 300ms  # 16000 Hz * 4 B/frame * 0.3 s = 19.2 KB
    timeout: never          # keep the bus running between clips: no pop per clip

# Media player that HA streams clips to (announcement-only pipeline).
media_player:
  - platform: speaker
    name: Yard Speaker A
    id: yard_speaker_a
    volume_initial: 50%
    volume_min: 0.5         # slider 0% = -24 dB, 50% = -12 dB, 100% = 0 dB (software volume is -49..0 dB)
    buffer_size: 32000      # HTTP file buffer, ~500 ms at 64 KB/s (stereo 16k)
    files:
      - id: test_tone
        file: test_tone.wav # 2 s, 16 kHz stereo 16-bit, generated; lives next to this yaml
    announcement_pipeline:
      speaker: ns4168_speaker
      format: WAV           # cheapest to decode on a no-PSRAM ESP32
      sample_rate: 16000
      num_channels: 2

# "Test Tone" button in HA: plays the baked-in 2 s tone through the
# announcement pipeline without HA's TTS/ffmpeg path. First thing to press
# when the speaker misbehaves: no tone = wiring/power, tone but bad TTS = HA side.
button:
  - platform: template
    name: Test Tone
    on_press:
      - media_player.speaker.play_on_device_media_file:
          media_file: test_tone
          announcement: true
A few decisions worth calling out in, because they make or break it:
- The stream is WAV at 16 kHz, and Home Assistant does the converting. The format line in the announcement pipeline tells Home Assistant to transcode whatever you send (MP3, FLAC, a Piper stream) down to WAV at the device’s sample rate before it hits the wire. Your source files can be anything. The ESP32 never sees the original format, which keeps its workload near zero. That matters on a board with no PSRAM.
- Announcement-only pipeline. Only the announcement pipeline is defined, which is the leanest on RAM, so playback is triggered with announce set to true. Each new clip interrupts the previous one, which is exactly what you want for short scare clips.
- A baked-in test tone and a button. The config bakes a 2-second WAV into the firmware and exposes a Test Tone button in Home Assistant. It’s the single most useful debugging tool in this project. No tone means a wiring or power problem. Tone plays but TTS sounds wrong means the problem is on the Home Assistant side, not the device.
Flashing It
The first flash has to happen over USB, because a blank board isn’t on your network yet. If you’ve used the WLED web installer, this is the same experience. It’s literally the same underlying tool, ESP Web Tools over Web Serial.
- Plug the ESP32 into your computer and open the ESPHome dashboard in Chrome or Edge. Only those two support Web Serial.
- Choose Install, then Plug into this computer. It compiles (a few minutes the first time, while it fetches the toolchain), then flashes over the cable.
- After the first flash, every future update goes over the air. No cable.
Adding It to Home Assistant
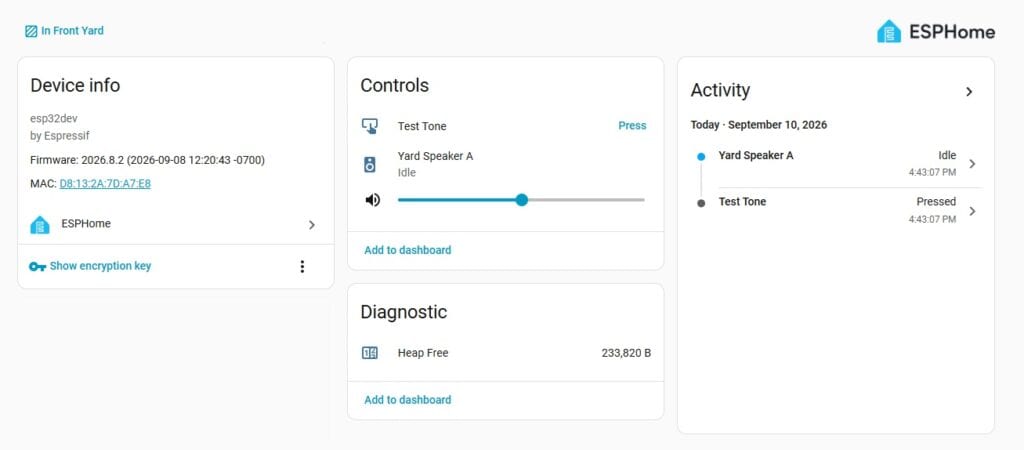
Once flashed, the board joins WiFi and Home Assistant finds it on its own under Settings, Devices & Services, in the ESPHome card. Add it and you get a media_player.yard_speaker_a entity, plus the Test Tone button and the Heap Free sensor from the config.
Test in this order:
- Press the Test Tone button. This proves the whole audio chain end to end: wiring, power, I2S, amp, and speaker.
- Then try TTS or a clip. In Developer Tools, under Actions, call media_player.play_media on the entity with media_content_type set to music, a file as media_content_id, and announce set to true. The announce flag is required because of the announcement-only pipeline.
Using It in Automations
Because it’s a normal media player, any automation can talk to it. The same play_media call from the test above, with announce set to true, is the whole action. A motion sensor by the walkway, a doorbell press, or a schedule that fires a random clip every few minutes all work the same way. Target two or three entities in one action and they play together. Put a delay between two actions and you get call and response across the yard.
For the sounds themselves, drop WAV or MP3 files into Home Assistant’s media folder and pick them from the media browser in the automation editor. Home Assistant converts them on the way out, so nothing needs to be prepped for the speaker.
Building More Zones
To add a second speaker, flash the same config to another board and change three things: the device name under esphome, its friendly_name, and the media player’s name. Each one becomes its own media_player entity, so you can target them one at a time or fire them all together from a single automation.
Troubleshooting
Nearly all of these are specific to the classic ESP32 with no PSRAM paired with this NS4168 module. They cost me a lot of time. Here they are so they don’t cost you any.
Audio Plays at Half Speed
Use stereo 16-bit, not mono. On this chip, mono at 44.1 kHz plays at half speed (my 2-second tone took about 4.2 seconds), 32-bit slots also play at half speed, and ESPHome has to swap sample pairs for 16-bit mono. Setting the channel to stereo with identical left and right data, which Home Assistant sends anyway, sidesteps every one of those bugs. The mono amp just plays whichever slot its CTRL pin selects.
Dead Silence with Everything Wired Right
This module wants left-justified framing, which in ESPHome is i2s_comm_fmt set to stand_msb. Standard Philips I2S framing was completely silent at 16 kHz. The fix came from the vendor’s own ESP32 example for the module on GitHub. When in doubt, match the manufacturer’s reference.
Silence at Certain Sample Rates
The sample rate has to be one the module auto-detects: 8, 16, 32, 44.1, 48, or 96 kHz. I tried 22.05 kHz and got nothing. 16 kHz is plenty for voice and scare clips, and it sips WiFi bandwidth.
A Pop on Every Restart, or “Speaker task setup failed”
Buffers have to fit in the roughly 200 KB heap. With no PSRAM, oversized buffers exhausted the heap, the speaker task failed to allocate, and the device popped on every restart. The config exposes a Heap Free sensor for exactly this reason. Keep it above about 120 KB before you grow any buffer. If the log says “Speaker task setup failed,” you went too big.
Clips Stutter
Turn off WiFi power saving by setting power_save_mode to none. The ESP32’s default modem sleep delivers audio in bursts with gaps at weaker signal, which starves the small buffers and makes clips stutter. Out in the yard, weaker signal is the normal case.
A Pop at the Start of Each Clip
Keep the I2S bus alive between clips by setting the speaker’s timeout to never. Otherwise the bus stops after each clip and restarts on the next one, and you hear a pop every time.
Static That Ignores the Volume Slider
That’s the DIN jumper. Mine was half-seated. Re-seat it, and check it landed on GPIO33 and not a neighbor.
A Note on API Encryption
The config encrypts the connection between the device and Home Assistant with an api encryption key. It’s optional, and dropping it is one less secret to manage while you’re debugging. I’d keep it. Mine is on, it costs nothing once it’s set up, and it means nobody else on your WiFi can talk to the speaker.
Summary
For about $20 a zone you get a network-controlled speaker that Home Assistant treats like any other media player. The build is five wires and a flash. The audio settings are the fussy part on a classic ESP32, so lean on the config comments and the troubleshooting list above. Match the vendor’s reference for framing and sample rate, keep everything stereo, 16-bit, and 16 kHz, size your buffers to the tiny heap, and press that Test Tone button before you blame anything downstream. Then go scare some trick-or-treaters.