Setting up a new smart TV can feel confusing if you have never done it before. You might see a lot of cords, remote controls, and menus that do not make much sense at first. This guide will help you through each part of the setup process from taking the TV out of the box to getting your favorite streaming apps ready to use. The steps are written for beginners and use simple words, so you do not need to worry about missing anything important. If you want to start enjoying your smart TV with less trouble, keep reading for clear instructions on each step.
Unboxing and Physical Setup
When you first bring home your smart TV, start by opening the box and taking out all the pieces. You will usually find the screen, a stand or legs, screws, a remote, and some cables. Be careful when lifting the TV since screens can be fragile. Place the screen face down on a flat, soft surface to protect it while you attach the stand. We recommend a clean blanket or something similar. Follow the instructions in the manual to put together the stand and secure it to the TV using the screws that came in the box.
After the stand is attached, it’s time to put the TV up. The TV should go in a spot where you can see the screen easily and reach a power outlet. Make sure the surface is level and sturdy, TV stands are an excellent choice. You can just plug the power cord into the TV, then into the wall outlet. But to protect your new TV, we recommend plugging a surge protector into the wall outlet, and plugging the TV into the surge protector.
If you want to connect other devices, this is a good time to do it. You can attach a soundbar by using an HDMI or optical audio cable. If you have a game console or a streaming device, plug those into the HDMI ports on the back or side of the TV. Once everything is connected, you are ready to turn on your TV and move on to the next steps in the setup process.
Connecting to the Internet
To start using most of the features on your smart TV, you need to connect it to the internet. You can do this with either a Wi-Fi or a wired connection. For Wi-Fi, use your TV remote to go to the network or settings menu, then select the wireless option. Your TV will show a list of available networks. Pick your home Wi-Fi from the list. We recommend picking the fastest Wi-Fi network you have available for the best streaming results. So if you have a 2.4GHz and a 5GHz network, choose the 5GHz. If you want a wired connection, connect an Ethernet cable from your router to the TV, then choose the wired option in the network settings.
After picking your network, your TV will ask for the Wi-Fi password. Use the remote to enter the password using the on-screen keyboard. Smart TV’s with voice recognition are great for typing in passwords like this, simply hit the microphone button on your remote or on screen and start speaking your password. Make sure the password matches what you use for other devices. If you type it wrong, your TV will not connect, so double-check before you press the button to continue.
Once your smart TV connects to your home network, it is a good idea to check for software updates. Many TVs will prompt you to update if a new version is available. You can also look for an update option in the settings menu. Installing updates can help fix problems and add new features. The update process usually takes a few minutes and your TV might restart when it is done.
Installing and Setting Up Streaming Apps
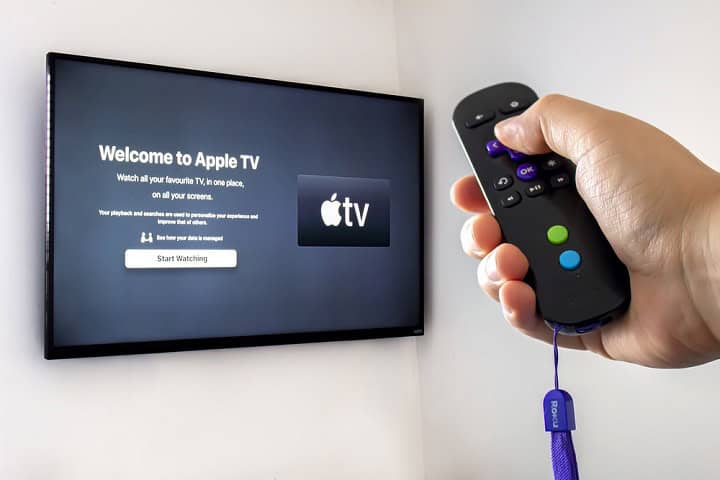
To get started with streaming apps on your smart TV, you will need to open the app store or marketplace that comes with your TV. Most smart TVs have a button on the remote that will take you straight to the app store. Some brands call it by a different name, but it works the same way. Once you are in the app store, you can use the search tool to look for streaming apps like Netflix, Hulu, Disney+, or Amazon Prime Video.
After you find an app you want, select it and choose the option to download or install. This step can take a few minutes, based on your internet connection. When the app finishes installing, open it and follow the prompts to log in. You will need a user account for each service. If you do not have an account, there should be a way to sign up from the app or you can do it on their website using a computer or phone.
Once you have downloaded your favorite streaming apps and logged in, you might want to put them in a spot on your home screen that is easy to find. Most smart TVs let you move app icons by highlighting the app and following the on-screen directions to move or rearrange them. This makes it quicker to open the apps you use most often.
In Summary
Setting up a smart TV for the first time takes a little time and patience, but it is mostly about following the steps in order. Unboxing and putting the TV together, connecting to the internet, and adding your favorite streaming apps are the main parts of the process. Each step helps you get the TV ready to use, so you can start watching shows and movies without much trouble. If you follow the instructions carefully, you should end up with a smart TV that works well for your needs. If you ever get stuck, you can always look at the manual that came with your TV or check the company’s support website for more help.